How to Install a Printer Without Manufacturer Bloatware
You want to install your printer without the manufacturer's bloated software package full of unnecessary programs, and here's how to do it.
What's Happening
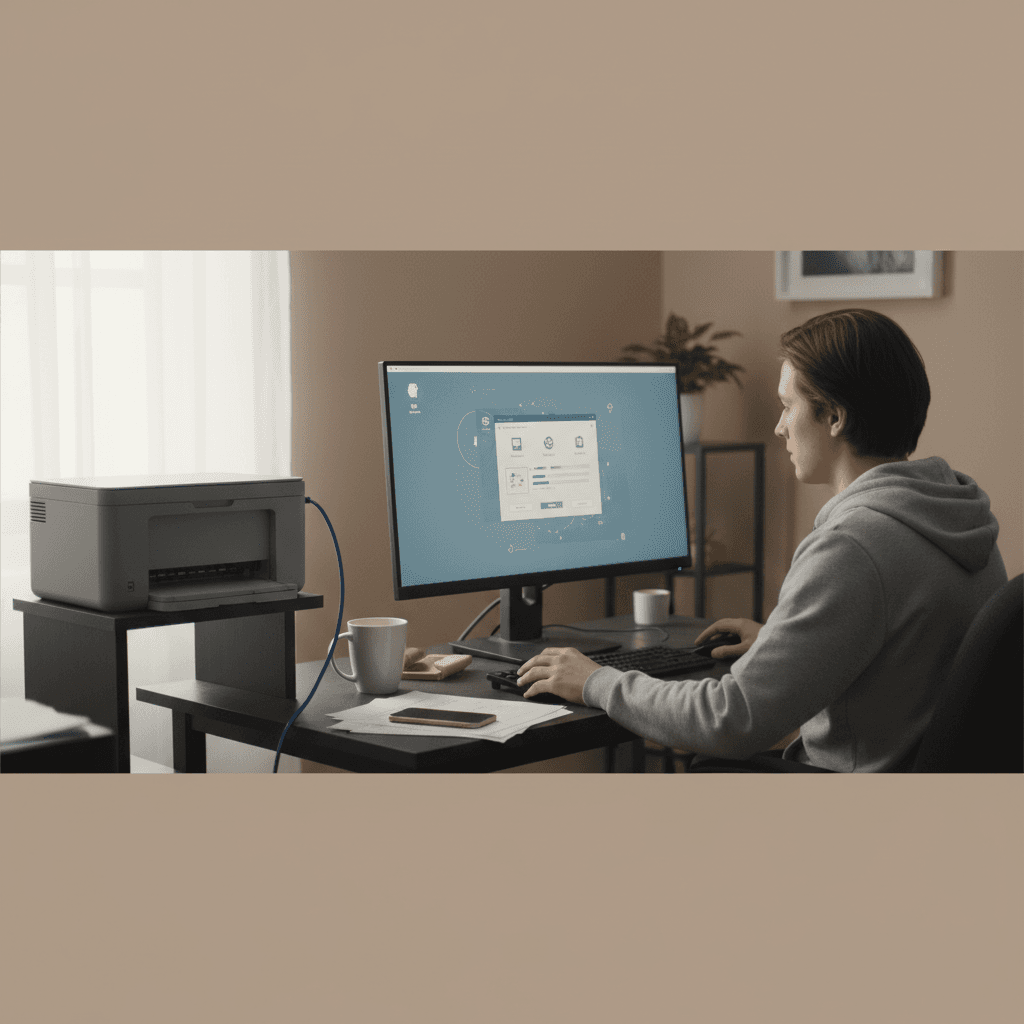
You bought a new printer and when you run the manufacturer's installer CD or download, it wants to install a massive software package—printer utilities, status monitors, photo organizers, scanning suites, toolbar addons, and things you'll never use. This bloatware slows down your computer, runs background processes constantly, and takes up disk space. The good news is that Windows has excellent built-in printer support, and you can install most printers with just the driver—no bloatware required. You'll get full printing functionality with a clean, lightweight installation.
Quick Checks (Do These First)
- Connect your printer – Plug it into USB or connect it to your WiFi network first
- Power it on – Make sure the printer is on and ready
- Check if Windows auto-detects it – Often Windows will find and install it automatically when plugged in
- Know your printer model – You'll need the exact model number (look on the front or top of the printer)
Step-by-Step Fixes
Fix 1: Let Windows Install the Printer Automatically (USB)
The simplest method for USB printers.
- Do NOT insert the manufacturer's CD or download their installer
- Connect your printer to your computer via USB
- Turn on the printer
- Windows will detect it and show a notification "Setting up [printer name]"
- Wait a few minutes for driver installation to complete
- Go to Settings > Devices > Printers & scanners
- Verify your printer appears in the list
- Print a test page
Windows will download a driver from Windows Update—usually enough for full functionality without bloat.
Fix 2: Add a Network Printer Using Windows Built-in Tools
For WiFi or network printers, let Windows find it.
- Make sure your printer is connected to the same WiFi network as your computer
- Go to Settings > Devices > Printers & scanners
- Click Add a printer or scanner
- Wait while Windows searches
- Your printer should appear in the list
- Click it and click Add device
- Windows will download and install drivers
- Test print when installation completes
Fix 3: Manually Download Only the Driver (No Software Suite)
Get just the driver from the manufacturer's website.
- Go to the printer manufacturer's support website (HP, Canon, Epson, Brother, etc.)
- Enter your printer model number
- Look for Drivers or Downloads
- You'll often see multiple options like "Full Software Suite" (avoid this) and "Driver Only" or "Basic Driver"
- Download the Driver Only or Basic Driver package
- Run the installer
- If it asks about installing extra software, utilities, or toolbars, uncheck those options
- Choose Custom Installation if available and deselect everything except the driver
- Complete installation
Fix 4: Use Windows Generic Drivers for Basic Printing
For simple printing needs, generic drivers work great.
- Go to Settings > Devices > Printers & scanners
- Click Add a printer or scanner
- Click The printer that I want isn't listed
- Select Add a local printer or network printer with manual settings
- Choose the correct port (USB001 for USB printers) or create a network port
- In the driver selection screen, choose Windows Update to see all available drivers
- Look for your manufacturer and model, or choose Generic > Generic/Text Only
- Click Next and complete setup
Generic drivers don't offer advanced features but work perfectly for basic printing.
Fix 5: Install Driver in "Driver Only" Mode
Many manufacturer installers have a hidden driver-only mode.
- Download the full installer from the manufacturer
- Run it
- Look carefully for options like:
- "Custom Installation" or "Advanced"
- "Install driver only" or "Minimal installation"
- "I want to select the installation options"
- Choose this option
- Proceed through the installer
- Uncheck every optional component: status monitors, updaters, photo software, OCR tools, etc.
- Install only the driver component
This gives you the manufacturer's full-feature driver without the bloatware.
Fix 6: Remove Bloatware After Installation
If you already installed the full suite, you can remove the extras.
- Open Control Panel > Programs and Features
- Look for your printer manufacturer's programs
- You'll likely see multiple entries (HP Smart, HP Update, HP Support Assistant, etc.)
- Uninstall everything EXCEPT the driver package (usually named "HP Printer Driver" or similar)
- Be careful not to remove the actual driver
- After uninstalling extras, restart your computer
- Verify the printer still works
If Nothing Worked
If Windows can't find a driver automatically and you need manufacturer features, you may have to install their full package, then uninstall the bloatware afterward. Some printer features (like scanning with all-in-ones, or duplex settings on business printers) may require the manufacturer's driver to work fully. Check if there's a "PCL" or "PostScript" driver available on the manufacturer's site—these are often lighter-weight than full feature drivers while still supporting advanced features.
When to Call a Pro
If you need specific advanced features (custom paper sizes, color profiles, secured printing, finishing options on business printers) and can't get them working with basic drivers, professional setup can optimize the installation. For businesses that need to deploy printers to multiple computers without bloatware, IT professionals can create custom deployment packages or use print servers. If you're unsure which components are safe to skip, expert guidance prevents accidentally breaking functionality you need.
Need Professional Help?
If you're in the Tampa Bay area and need hands-on assistance, Geeks in Sneaks provides friendly, on-site tech support in Clearwater, Clearwater Beach, and Dunedin.
Related Topics
Need Professional Help?
If you're still having trouble, our expert technicians can help.
Learn about our printer support serviceMore Printer Issues Fixes
See all Printer Issues fixes →How to Prevent Malware from Abusing Network Printers
Concerned about malware using your printer to spread or spy? Here's how to secure network printers against malicious software and attacks.
How to Prevent Kids or Guests from Printing 100-Page Jobs
Tired of accidental massive print jobs from kids or guests? Here's how to set up quotas, require approval, and control who can print what.
How Often Should You Check for Printer Security Updates?
Printer firmware updates aren't optional—they patch security holes. Here's how often to check, how to update, and how to set up automatic updates.
How to Block Unwanted Cloud and Remote Print Features
Don't want HP ePrint, Canon Cloud, or Epson Connect on your printer? Here's how to disable cloud printing features for better privacy and security.
How to Use Guest Networks or VLANs to Isolate Your Printer
Want to keep your printer on a separate network for security? Learn how to use guest networks and VLANs to isolate printers from your main devices.
How to Reset Forgotten Admin Password on Printer Web Interface
Locked out of your printer's web interface? Here's how to reset the admin password for HP, Canon, Epson, and Brother printers.
How to Securely Dispose of Old Printers with Stored Data
Getting rid of an old printer? Learn how to wipe stored data and dispose of it securely so your personal information doesn't end up in the wrong hands.
Are Scanned or Copied Documents Stored on Your Printer?
Wondering if your printer keeps copies of documents you scan or copy? Here's what gets stored, how to check, and how to clear it.