How Often to Run Printhead Cleaning on Inkjet Printers
Running printhead cleaning too often wastes ink, but not running it enough causes clogs. Here's the right schedule for your inkjet printer.
What's Happening
Your inkjet printer has a printhead cleaning function, but you're not sure how often to use it. Run it too often and you waste expensive ink. Don't run it enough and your printhead clogs up, causing streaky prints or colors that don't print at all. Finding the right balance keeps your prints looking good without draining your ink cartridges.
Quick Checks (Do These First)
- Are your prints currently looking good? If yes, you don't need to clean anything.
- Print a nozzle check pattern. This shows exactly which nozzles are clogged.
- How often do you print? Daily users and monthly users need different schedules.
- What's your environment like? Dry, dusty environments cause more clogs.
- Is your printer sitting unused for weeks? That's when clogs happen most.
The General Rule
If You Print Weekly or More Often:
Only clean when you see problems. Regular use keeps the printhead moist and prevents clogs naturally. Let the printer run its automatic maintenance cycles (usually during startup), and only manually clean if you notice streaks or missing colors.
If You Print Every 2-4 Weeks:
Run a nozzle check before each use. If the pattern looks good, don't clean. If you see gaps or missing lines, run one cleaning cycle. This prevents clogs from forming without wasting ink unnecessarily.
If You Print Once a Month or Less:
Print a test page at least every 2 weeks, even if you don't need anything. This keeps ink flowing through the nozzles. If you see quality issues, run a cleaning cycle. Consider printing a full-color page monthly to exercise all nozzles.
Step-by-Step: When and How to Clean
Step 1: Run a Nozzle Check First (Always Do This)
- Access your printer settings. Windows: Settings > Devices > Printers & Scanners > select your printer > Manage > Printer preferences. Mac: System Preferences > Printers & Scanners > select printer > Options & Supplies > Utility.
- Find the "Nozzle Check" or "Print Head Check" option. Usually under Maintenance or Utilities.
- Print the nozzle check pattern. This uses minimal ink and shows exactly what's working.
- Examine the pattern. You should see complete lines in all colors (cyan, magenta, yellow, black). Gaps, missing lines, or streaks indicate clogs.
Step 2: Run Cleaning Only If Needed
If the nozzle check looks perfect: Do nothing. You're wasting ink by cleaning a printhead that's already working.
If you see minor gaps (a few missing lines):
- Run one cleaning cycle. Find "Head Cleaning" or "Printhead Cleaning" in the same maintenance menu.
- Wait 3-5 minutes. Let the ink settle after cleaning.
- Run another nozzle check. See if it improved.
- If still not perfect, run one more cleaning cycle. Then wait 30 minutes before checking again.
If you see major gaps (whole colors missing or heavy streaking):
- Run a deep cleaning cycle. This uses more ink but is more thorough.
- Wait 30 minutes. Give the ink time to saturate the printhead.
- Run a nozzle check. It should be significantly better.
- If still bad, wait overnight. Sometimes ink needs time to work through stubborn clogs.
- Try one more deep clean the next day. If this doesn't fix it, you may need manual cleaning or printhead replacement.
Step 3: Don't Overdo It
Never run more than 2-3 cleaning cycles in a row. If the first couple didn't work, more won't help and you'll just waste ink. Either wait longer between attempts or move to manual cleaning methods.
How Much Ink Does Cleaning Use?
Regular Cleaning Cycle
Uses approximately 3-5% of your ink cartridge per cycle. On a standard cartridge, that's about 20-30 pages worth of ink down the drain.
Deep Cleaning Cycle
Uses approximately 10-15% of your ink cartridge. This is substantial—potentially 100+ pages worth of ink.
The Math
If you run a cleaning cycle every day "just because," you'll waste about 20% of your ink cartridge per week doing nothing useful. That's why you only clean when the nozzle check shows you actually need it.
Preventing Clogs in the First Place
1. Print Regularly
The best prevention is regular use. Print at least once a week, even if it's just a test page. Moving ink through the nozzles keeps them from drying out.
2. Use Original or Quality Ink
Cheap third-party ink is more likely to clog. It's not always bad, but if you're getting frequent clogs, try genuine cartridges.
3. Don't Let It Sit Unused for Months
If you know you won't print for a while (like going on vacation), print a full-color test page before you leave and immediately when you return.
4. Keep the Printer in a Stable Environment
Extreme temperature changes, very dry air, or dusty environments make clogs more likely. Room temperature (65-75°F) and moderate humidity (40-60%) is ideal.
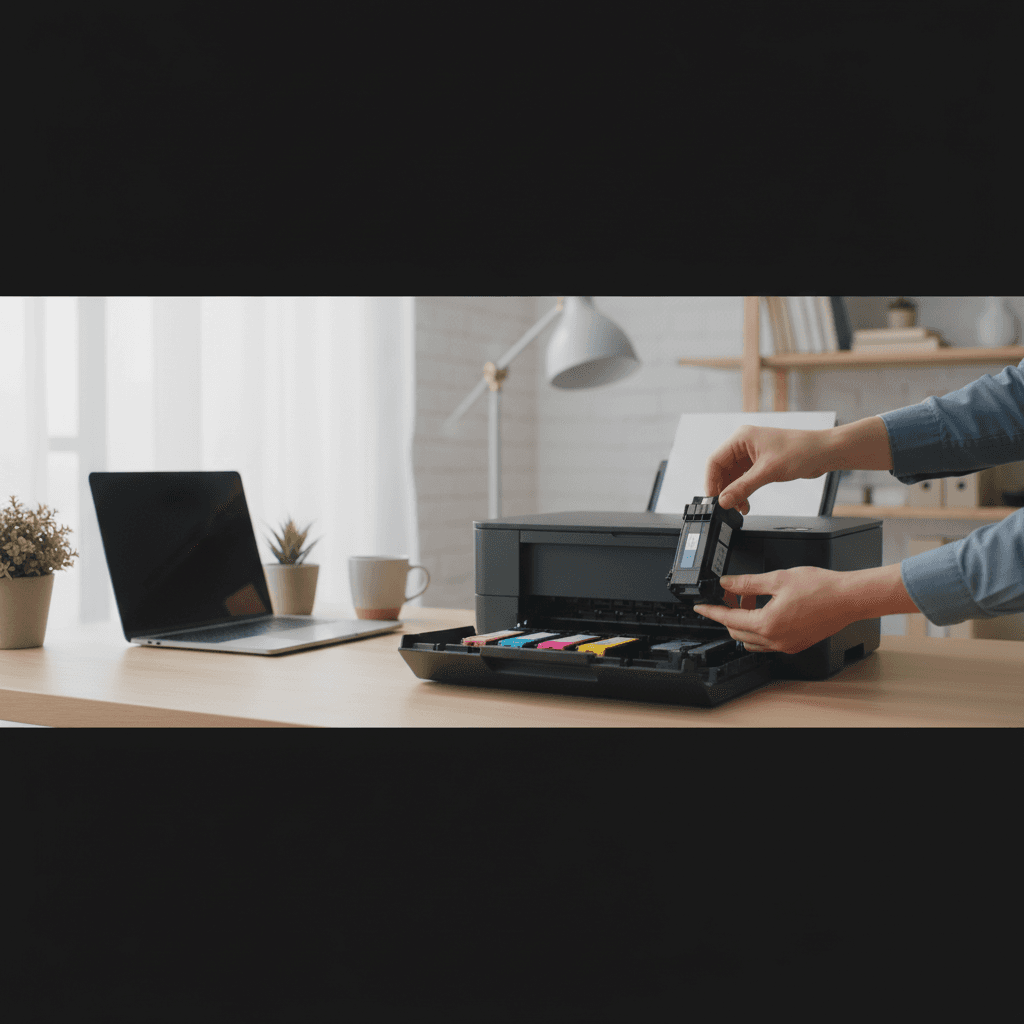
5. Don't Remove Cartridges Unnecessarily
Every time you remove and reinstall a cartridge, you risk introducing air bubbles. Only remove cartridges when replacing them.
6. Let Automatic Maintenance Run
Most inkjet printers run small automatic maintenance cycles during startup or periodically when idle. Don't interrupt these—they prevent clogs without using much ink.
Signs You Need a Cleaning Cycle
- Horizontal white lines or streaks in prints. Clogged nozzles.
- One color is missing entirely. Severe clog in that color.
- Text looks faded or incomplete. Partial clog.
- Colors look wrong (like skin tones are too green or too pink). One color is clogged, throwing off the mix.
- Nozzle check pattern has gaps. Definitive proof of clogs.
When Cleaning Doesn't Work
If you've run multiple cleaning cycles (regular and deep) and the nozzle check still shows major gaps, cleaning cycles won't fix it. You have three options:
1. Manual Printhead Cleaning
For removable printheads (Canon, HP), you can physically clean them with distilled water and lint-free cloths. This is advanced but can save a dried-out printhead.
2. Printhead Soaking
Soak the printhead in a shallow dish of warm distilled water or cleaning solution for a few hours. This can dissolve stubborn dried ink.
3. Replace the Printhead
If the printhead is permanently clogged, replacement is the only option. On some printers (Epson), the printhead is built into the printer, which means replacing the whole printer. On others (Canon, HP), you can buy a replacement printhead for $30-80.
Special Situations
After Replacing Cartridges
Run one cleaning cycle after installing new cartridges. This primes the printhead with fresh ink and ensures good flow. Then run a nozzle check.
After Long Storage (Months Without Use)
Run a deep cleaning cycle immediately. Then wait 30 minutes and run a nozzle check. You may need multiple rounds of deep cleaning to revive a long-dormant printer.
Photo Printing
Run a nozzle check before important photo prints. You don't want to discover clogs halfway through printing your vacation photos. If the nozzle check shows any gaps, clean before printing.
The Bottom Line
Print regularly instead of cleaning regularly. Using the printer is the best maintenance.
Only clean when the nozzle check shows you need it. Don't guess or run it on a schedule.
Never run more than 2-3 cycles in a row. If it's not working, more cleaning won't help.
Daily users: Only clean when you see problems.
Weekly users: Run a nozzle check if quality drops, then clean if needed.
Monthly users: Print a test page every 2 weeks, clean only if the nozzle check fails.
When to Call a Pro
If cleaning cycles don't fix print quality issues, or if you're going through ink cartridges too fast due to constant cleaning, a technician can determine if the printhead is salvageable or if you need a replacement.
Need Professional Help?
If you're in the Tampa Bay area and need hands-on assistance, Geeks in Sneaks provides friendly, on-site tech support in Clearwater, Clearwater Beach, and Dunedin.
Related Topics
Need Professional Help?
If you're still having trouble, our expert technicians can help.
Learn about our printer support serviceMore Printer Issues Fixes
See all Printer Issues fixes →How to Prevent Malware from Abusing Network Printers
Concerned about malware using your printer to spread or spy? Here's how to secure network printers against malicious software and attacks.
How to Prevent Kids or Guests from Printing 100-Page Jobs
Tired of accidental massive print jobs from kids or guests? Here's how to set up quotas, require approval, and control who can print what.
How Often Should You Check for Printer Security Updates?
Printer firmware updates aren't optional—they patch security holes. Here's how often to check, how to update, and how to set up automatic updates.
How to Block Unwanted Cloud and Remote Print Features
Don't want HP ePrint, Canon Cloud, or Epson Connect on your printer? Here's how to disable cloud printing features for better privacy and security.
How to Use Guest Networks or VLANs to Isolate Your Printer
Want to keep your printer on a separate network for security? Learn how to use guest networks and VLANs to isolate printers from your main devices.
How to Reset Forgotten Admin Password on Printer Web Interface
Locked out of your printer's web interface? Here's how to reset the admin password for HP, Canon, Epson, and Brother printers.
How to Securely Dispose of Old Printers with Stored Data
Getting rid of an old printer? Learn how to wipe stored data and dispose of it securely so your personal information doesn't end up in the wrong hands.
Are Scanned or Copied Documents Stored on Your Printer?
Wondering if your printer keeps copies of documents you scan or copy? Here's what gets stored, how to check, and how to clear it.