How to Safely Clean Your Printer's Glass and Scanner Bed
Dirty scanner glass causes lines, smudges, and poor scan quality. Here's how to clean it properly without damaging the glass or leaving streaks.
What's Happening
You're getting black lines on scans and copies, or your scanned documents look smudged and blurry. The problem is almost always a dirty scanner bed. Dust, fingerprints, correction fluid, ink smears, and other debris on the glass get scanned along with your document, ruining the quality. Cleaning it is simple, but using the wrong materials or cleaners can scratch the glass or damage the surrounding components.
Quick Checks (Do These First)
- Are the lines always in the same place? That's definitely dirt or scratches on the glass.
- Do scans look fine but copies look bad? Could be dirty glass or a separate issue with the printhead.
- Is there visible dirt on the glass? If you can see it, your scanner definitely can.
- Is the underside of the lid dirty too? The white backing often gets overlooked but affects scan quality.
- Are you scanning transparency sheets or labels? These leave residue that regular paper doesn't.
What You'll Need
- Lint-free microfiber cloth (or coffee filters in a pinch)
- Glass cleaner (ammonia-free) or isopropyl alcohol (70% or higher)
- Distilled water (for final wipe to avoid streaks)
- Cotton swabs (for edges and tight spots)
- Soft brush or canned air (to remove dust before wiping)
What NOT to Use
- Paper towels: Leave lint and can scratch glass over time
- Abrasive cleaners: Will scratch the glass
- Ammonia-based cleaners: Can damage plastic components and anti-glare coatings
- Excessive liquid: Can seep into electronics under the glass
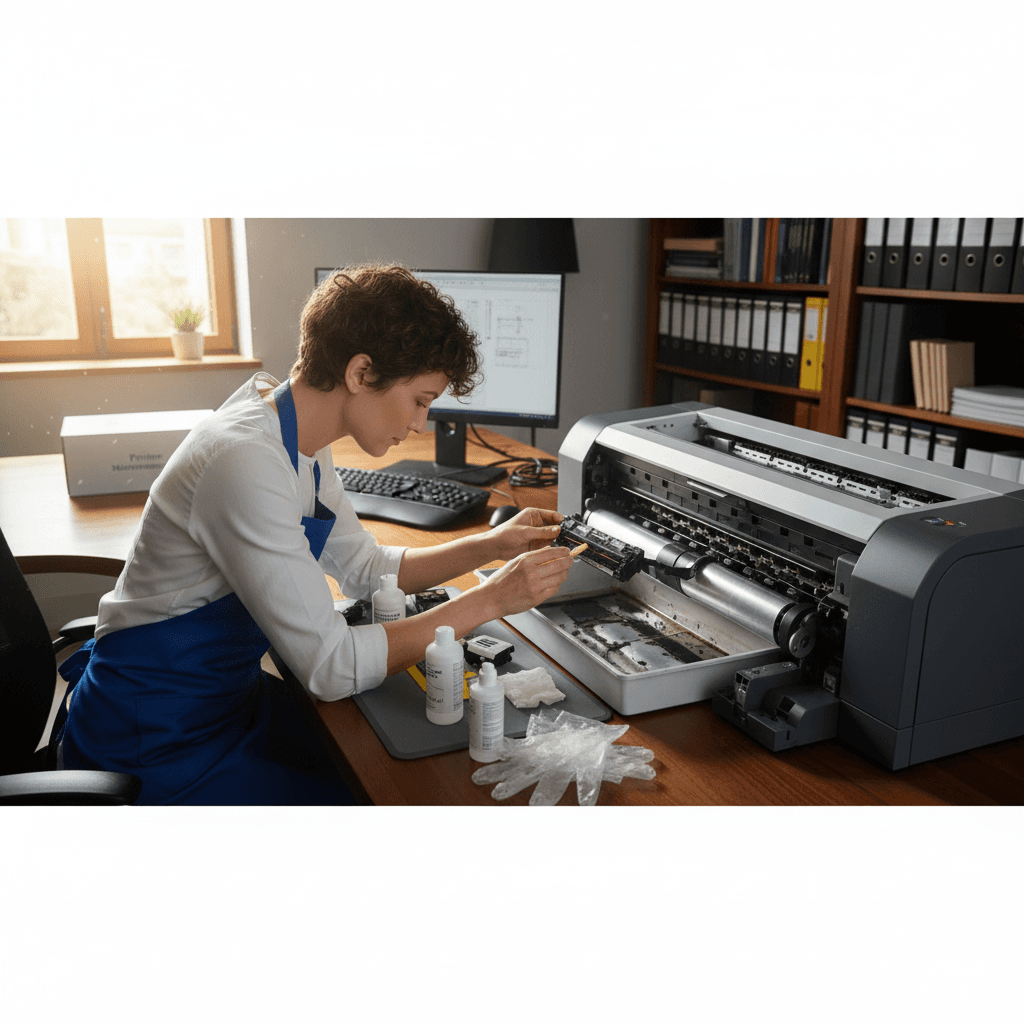
Step-by-Step: Cleaning the Scanner Glass
Step 1: Prepare the Printer
- Turn off the printer. You don't need to unplug it, but turning it off prevents accidental scans while you're cleaning.
- Lift the scanner lid fully. Make sure it's stable and won't close on your hands.
- Remove any dust with a soft brush or canned air. Blow or brush away loose particles before wiping. If you wipe first, you'll drag grit across the glass and potentially scratch it.
Step 2: Clean the Glass Surface
- Lightly spray glass cleaner onto a microfiber cloth. Never spray directly onto the glass—liquid can drip into the scanner mechanism.
- Wipe the glass in one direction (not circles). Start from one corner and work across in straight, overlapping strokes. This prevents streaks.
- Use moderate pressure. You want to remove dirt, not polish the glass aggressively.
- For stubborn spots (dried ink, adhesive residue), use isopropyl alcohol on a cloth. Let it sit on the spot for 10 seconds to dissolve the residue, then wipe.
- Use a cotton swab for edges and corners. Dirt loves to hide where the glass meets the frame.
Step 3: Remove Streaks
- Lightly dampen a clean microfiber cloth with distilled water.
- Wipe the glass again in straight strokes.
- Immediately follow with a dry microfiber cloth. Buff in straight strokes until the glass is completely dry and streak-free.
- Check for streaks by looking at the glass from an angle. Light will reveal any remaining smudges or residue.
Step 4: Clean the Underside of the Lid
The white or light-colored backing under the lid is just as important. It reflects light onto your document during scanning. If it's dirty, scans will have uneven lighting or shadows.
- Use the same glass cleaner on a cloth. Don't spray directly onto the lid.
- Wipe gently. The backing material is often softer than glass and can be damaged by scrubbing.
- Remove any debris stuck to the backing. Paper bits, staples, or sticky residue will show up on scans.
- Dry with a clean cloth.
Step 5: Test
- Turn the printer back on.
- Scan or copy a blank white page. This shows any remaining dirt as dark marks.
- If you still see lines or spots, repeat the cleaning. Some residue (like old correction fluid) takes multiple passes.
Dealing with Specific Messes
Dried Ink or Toner
Use isopropyl alcohol. Dampen a cloth and hold it on the dried ink for 20-30 seconds. The alcohol will soften it, and you can wipe it away. Don't scrape with anything hard.
Adhesive Residue (From Labels or Tape)
Use isopropyl alcohol or adhesive remover (like Goo Gone). Apply to a cloth, not the glass. Rub gently until the adhesive dissolves, then clean with glass cleaner to remove any oily residue.
Scratches on the Glass
Unfortunately, scratches can't be cleaned away. Very light scratches might be polished out with specialized glass polishing compound, but deep scratches are permanent. They'll show as white lines on scans.
Correction Fluid or White-Out
Use rubbing alcohol and patience. It may take several applications to fully dissolve dried correction fluid. Don't scrape it—you'll scratch the glass.
Fingerprints and Smudges
Glass cleaner or a 50/50 mix of isopropyl alcohol and distilled water works perfectly. Wipe and dry thoroughly to avoid streaks.
How Often to Clean
Light Home Use (Scan/Copy a Few Times a Month)
Every 3-6 months or when you notice quality issues. Casual use doesn't dirty the glass much.
Regular Use (Several Times a Week)
Monthly. Regular handling and document variety means more dust and smudges.
Heavy Office Use (Daily Scanning/Copying)
Weekly or bi-weekly. High-volume use dirties the glass fast, especially if you're scanning a variety of materials.
After Scanning Anything Unusual
Clean immediately after scanning:
- Sticky labels or stickers
- Transparencies or overhead sheets
- Dirty or dusty documents
- Anything with wet ink or toner
- Newspaper (newsprint leaves residue)
Preventing Glass from Getting Dirty
1. Keep the Lid Closed When Not in Use
Dust settles on the glass when the lid is open. Close it after every use to keep dust out.
2. Clean Documents Before Scanning
If you're scanning old, dusty papers, gently brush them off first. Don't transfer dirt from the document to the glass.
3. Handle Documents by the Edges
Fingerprints on documents transfer to the glass. Handle documents carefully to avoid adding oils and smudges.
4. Don't Place Wet or Sticky Items on the Glass
Wet ink, correction fluid, or adhesive labels can leave residue that's hard to remove. Let documents dry completely before scanning.
5. Keep the Printer in a Clean Environment
Dusty workshops or garages mean dusty scanner glass. If you must use your printer in a dusty space, consider a dust cover when it's not in use.
Troubleshooting After Cleaning
Still Seeing Lines on Scans?
Possible causes:
- Dirt inside the scanner assembly. Some printers have additional glass or mirrors inside that can get dirty. This requires disassembly to fix (professional job).
- Scratched glass. Scratches can't be cleaned away.
- Dirty ADF (Automatic Document Feeder) glass. If your printer has an ADF, there's usually a separate narrow strip of glass for the document feeder. Clean that too.
- Faulty scanner sensor. If the glass is perfectly clean and you still get lines, the scanner sensor may be failing.
Scans Look Blurry or Faded?
- Dirty glass or lid backing. Make sure both are clean.
- Document not flat on the glass. Press the lid down firmly during scanning.
- Wrong scan settings. Check resolution and quality settings in your scan software.
Streaks That Won't Go Away?
- Residue from cleaner. Wipe again with just distilled water and dry thoroughly.
- Damaged anti-glare coating. Some scanners have a coating that can be damaged by harsh cleaners. If it's damaged, you'll see permanent cloudiness.
Special Note: ADF Glass
If your printer has an Automatic Document Feeder (the tray that scans multiple pages automatically), there's usually a long, narrow strip of glass underneath it. This gets dirty too and causes lines on ADF scans.
- Lift the ADF cover. It usually hinges up separately from the flatbed lid.
- Clean the narrow glass strip the same way as the main glass.
- Also clean the white strip under the ADF lid.
- Wipe the ADF rollers if accessible. Use a damp cloth to remove paper dust.
The Bottom Line
A clean scanner glass takes two minutes and makes a huge difference in scan and copy quality. Use a microfiber cloth with ammonia-free glass cleaner or isopropyl alcohol, wipe in straight strokes, and dry thoroughly. Clean the lid backing too—it's just as important. Do this monthly for regular users or whenever you see lines and smudges on your scans.
When to Call a Pro
If the glass is clean but you're still getting lines, or if there's visible damage to the glass or scanner components, a technician can diagnose whether it's a sensor issue, internal dirt, or if the scanner needs replacement.
Need Professional Help?
If you're in the Tampa Bay area and need hands-on assistance, Geeks in Sneaks provides friendly, on-site tech support in Clearwater, Clearwater Beach, and Dunedin.
Related Topics
Need Professional Help?
If you're still having trouble, our expert technicians can help.
Learn about our printer support serviceMore Printer Issues Fixes
See all Printer Issues fixes →How to Prevent Malware from Abusing Network Printers
Concerned about malware using your printer to spread or spy? Here's how to secure network printers against malicious software and attacks.
How to Prevent Kids or Guests from Printing 100-Page Jobs
Tired of accidental massive print jobs from kids or guests? Here's how to set up quotas, require approval, and control who can print what.
How Often Should You Check for Printer Security Updates?
Printer firmware updates aren't optional—they patch security holes. Here's how often to check, how to update, and how to set up automatic updates.
How to Block Unwanted Cloud and Remote Print Features
Don't want HP ePrint, Canon Cloud, or Epson Connect on your printer? Here's how to disable cloud printing features for better privacy and security.
How to Use Guest Networks or VLANs to Isolate Your Printer
Want to keep your printer on a separate network for security? Learn how to use guest networks and VLANs to isolate printers from your main devices.
How to Reset Forgotten Admin Password on Printer Web Interface
Locked out of your printer's web interface? Here's how to reset the admin password for HP, Canon, Epson, and Brother printers.
How to Securely Dispose of Old Printers with Stored Data
Getting rid of an old printer? Learn how to wipe stored data and dispose of it securely so your personal information doesn't end up in the wrong hands.
Are Scanned or Copied Documents Stored on Your Printer?
Wondering if your printer keeps copies of documents you scan or copy? Here's what gets stored, how to check, and how to clear it.